Midterm: CNC Project

1.jpg

For my midterm project, I created a table lamp for one of the phone booths. The lamp illuminates the table providing task lighting, similarly bright to the table lamp that was there before my lamp. The led strips are 12V bright white 5730 Leds, 72LED/M .5W/LED (similar to this product). The lamp has a dimmer switch to turn it on and increase / decrease the brightness. The top of the lamp includes a dichroic plexiglass accent. There is a channel for the light to pass behind the dichroic illuminating the material and creating a multicolored gradient from the point of view of the observer, as well as refracted colored light on the wall behind the lamp. I created all of the parts of the lamp on the CNC machine. Overall the piece came out much bigger than I imagined it, I should have cut it out of cardboard first. The lamp head was too heavy for the arm to support without bending so I added a laser cut clear acrylic support.


Pictures of the base and arm construction. I used the same joinery from last week. After cutting the base and arm, I ran it through the table router to round the edge.

Below are pictures of the top piece which holds the diffusion acrylic and led strip, at this point the arm was still strong enough to hold the top up without support.

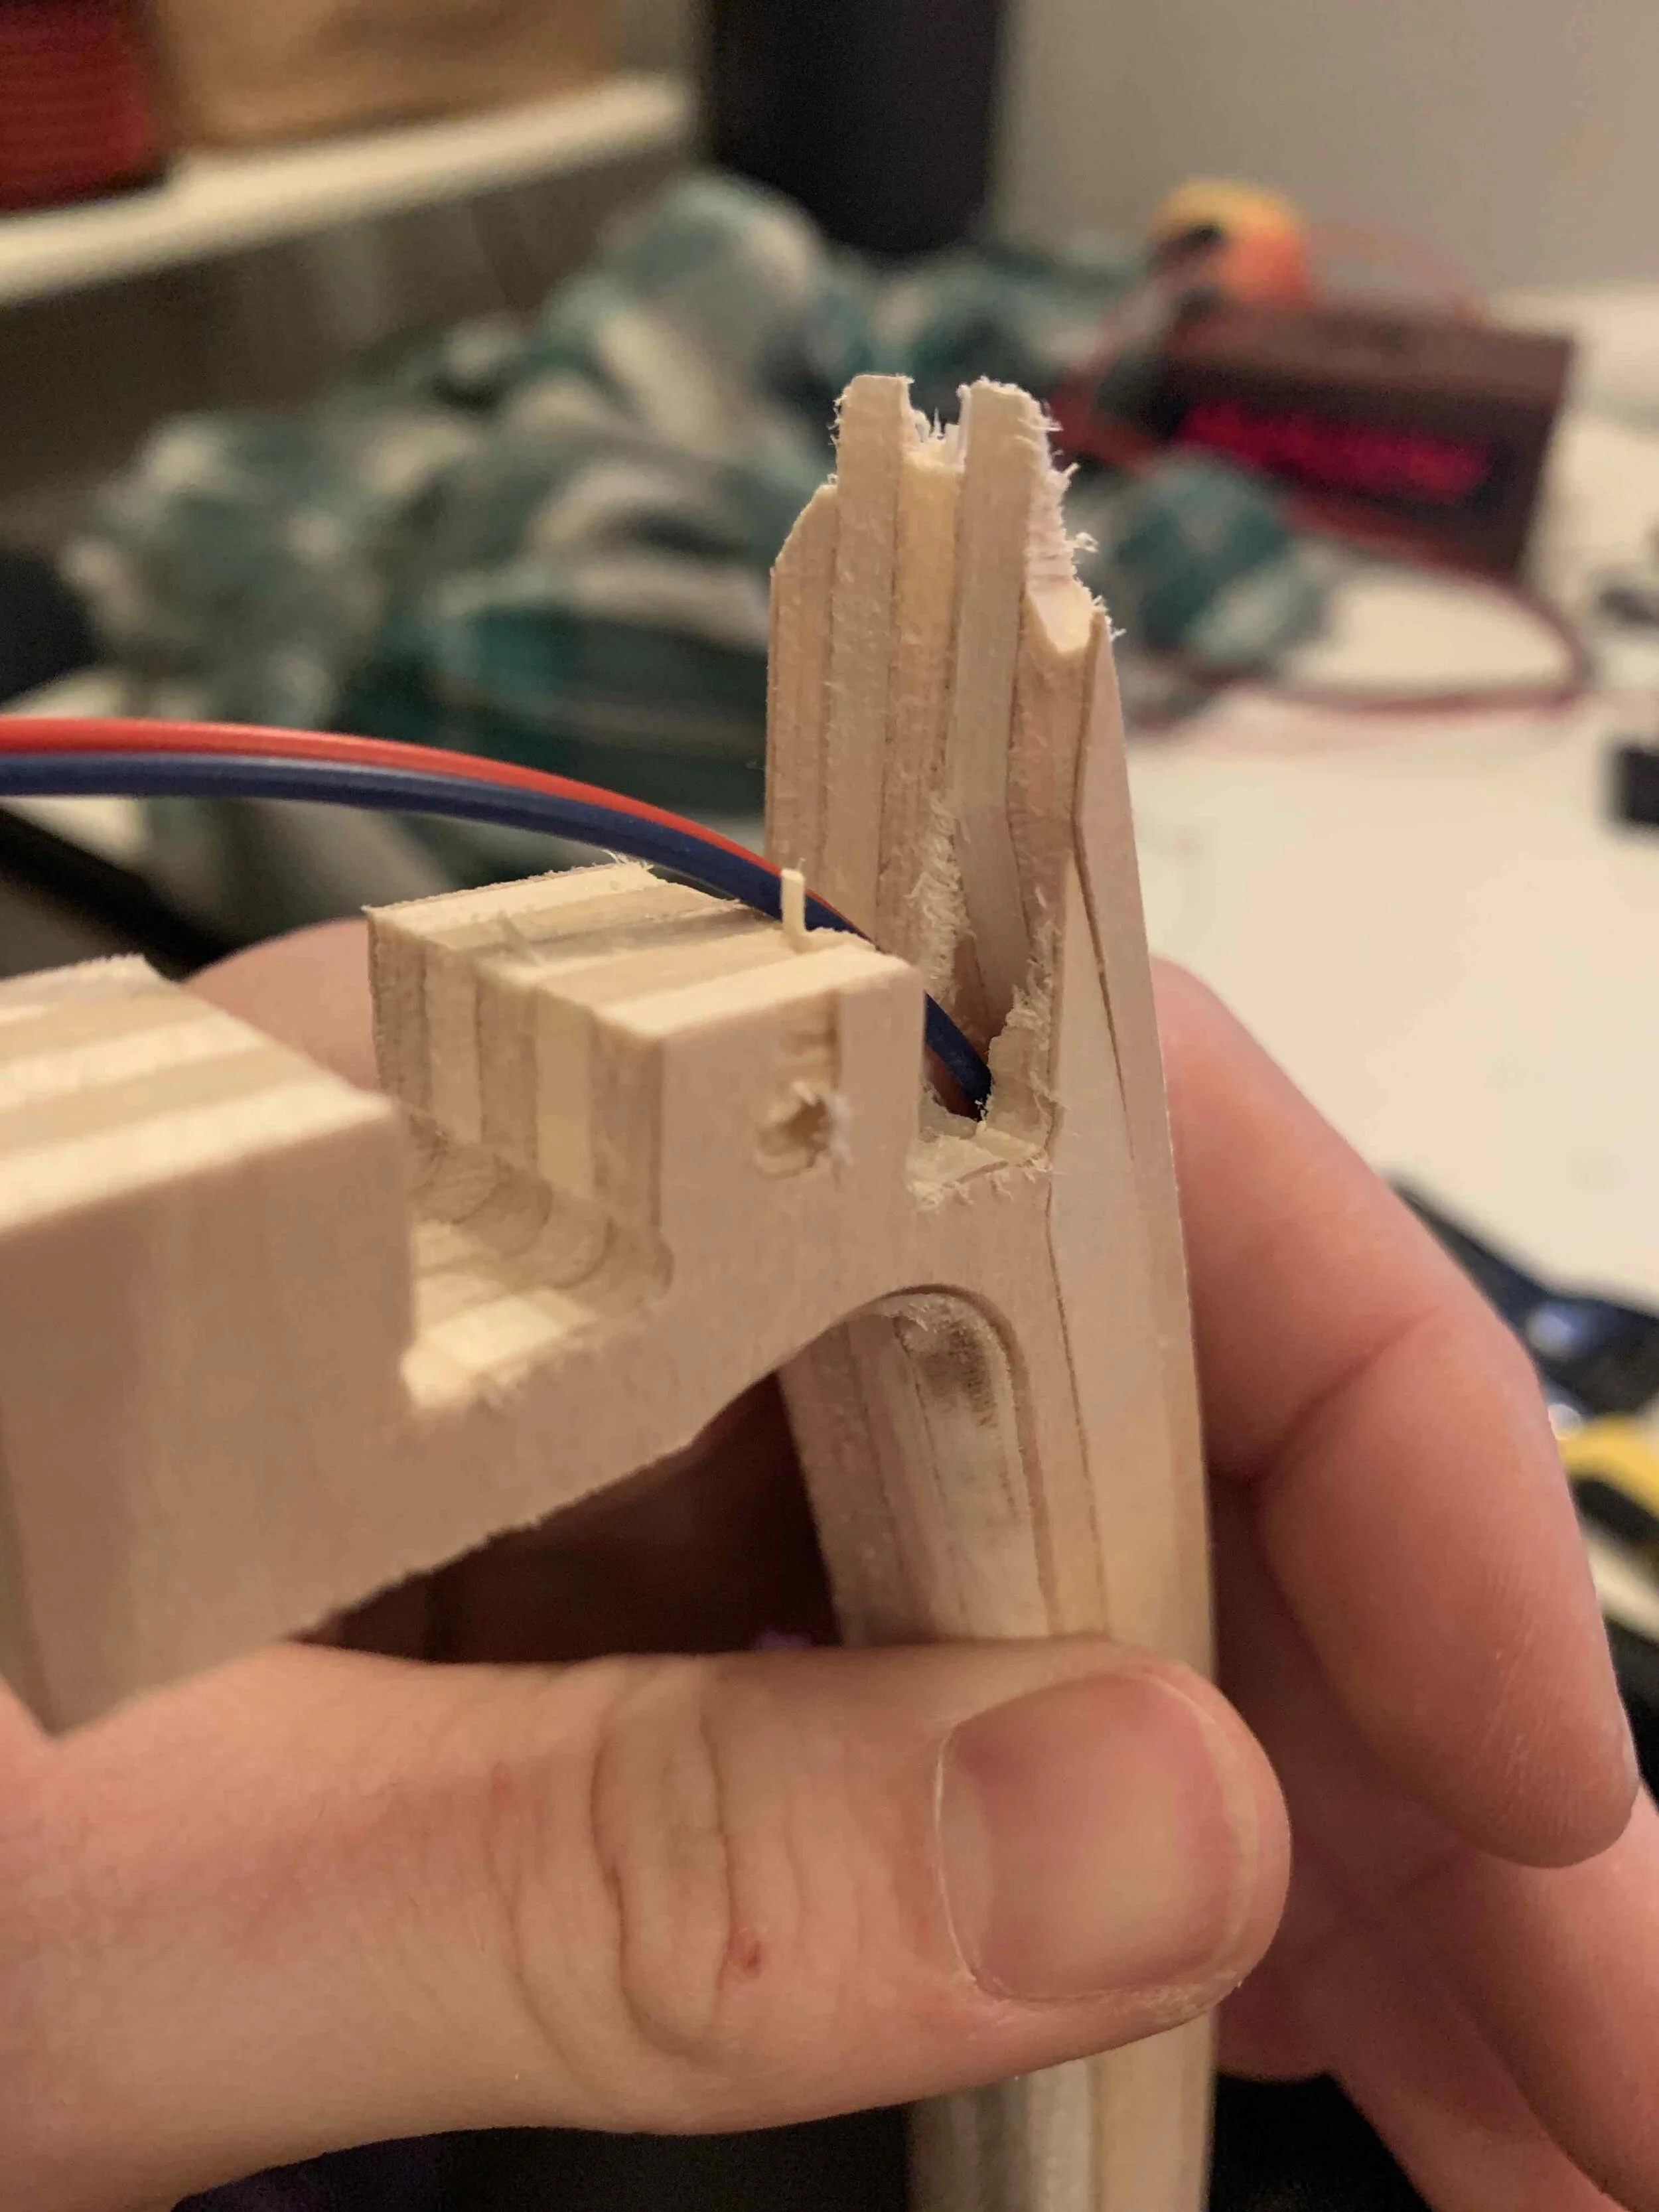
I fed the wire through the pocket in the arm up to the led strip. There is a tension fit piece covering the wire pocket.

The last piece was cut and put on top of the piece that contains the leds. There is a dichroic strip which is illuminated by light passing through a channel in the top piece. I had to laser cut another support arm for the top because the top was too heavy.

3.jpg

Week 5 Skill Builder: CNC Joinery

This week I tested out a joint design that I am hoping to use to connect the base to arm and arm to head of a lamp I am designing for light and interactivity. I decided to go with a dogbone design created to hide as much of the joint as possible. The vertical piece of wood slides into the base from the bottom using the weight of the base to hold everything in place. Miraculously, a tolerance of .01 ended up resulting in a very satisfying tension fit where the base needs to be pushed down with force onto the vertical piece but cant be pulled apart without lots of back and forth wiggling. The end result includes just a little bit of empty space at the side of the joint. In the next version, I want the outside edge of lamp arm to be flush with the base perimeter. I am planning on insetting the bottom of the arm and using the routing table to chamfer the edges of the arm so that it can slide in without having any empty space visible in the joint. Additionally, the joint is much larger than necessary. I designed this with a .25 inch bit but it can be reduced to a .125 inch bit with the dogbones smaller and closer together.

Week 4 Skill Builder: Vectorworks, MasterCam, And CNC Routing

This week I created a test plate with dichroic tiles arranged in different configurations to do some testing for a light and interactivity project (making a light fixture). I first created a file in vectorworks with pockets and cutouts for insetting tiles and letting light pass through. Then imported the file into mastercam, set up the pocket and profile parameters for a 1/8th inch bit, then generated g-code and saved it to a usb.

Next, I inserted the USB into the CNC, screwed my plate into the spoilboard, fit the bit into the collet, zeroed the axis, put the vacuum cover over the bit, and cut the piece.

The piece came out exactly as expected, although it had some burrs that needed to be sanded off. I always use the standard plywood feeds and speeds for PVC, I am sure I could get a cleaner finish tweaking the values a bit or using a finishing pass but it is really quick to sand. I was able to gain the information I was looking for for my light fixture design from the test piece.

Week 3 Skill Builder: Desktop CNC Project

This week I worked on insetting parts. I decided to go with a spiral which turned out to be a choice I regretted due to the time it takes to cut a spiral with a CNC. The path is almost as long as the full volume of a shape and you have to multiply that by two when you inset pieces.

I started off with vectorworks, creating a spiral, then I used the filet tool to expand the corners so that a .125 inch bit could fit into all the pathways. Next I offset the inner spiral .01 from the spiral channel as well as the outer circle .01 from the pvc circle that the “chip” gets inset into.

Next I had to do some sanding to get the acrylic with dichroic applied to it to match the height of the black acrylic that it is inlayed into as I forgot to account for the thickness of the film in my machine settings. Even if I did remember, it would have been quite a task to get it to line up exactly as I would have needed to use thicker black acrylic or take off some of the back of the acrylic with the film applied to it. I taped the dichroic spiral to the bottom of the pvc mount and sanded it down. Next I applied acrylic weld and found out that my tolerance of .01 was too high and there was a noticeable gap between the acrylic and dichroic. Luckily it is not visible when the “chip” is inset into the pvc base.

Week 2 Skill Builder: Milling Acrylic

This week during class I milled a pice of acrylic into an oval disc with a star shaped pocket. Instructions at bottom of post. After I was comfortable with the mill, I created a base / enclosure for an led candle that I built for light and interactivity.

IMG_3576.jpg

Instructions for star oval acrylic:

Step 1: File setup in Illustrator. Below is a picture of the combined pocket and profile. I saved twice, each one with just one of the paths so that the Bantam software separated the vectors into two jobs.

Step 2-6: Import into Bantam, measure acrylic height, set up material size and placement in software, scale and place illustrator image inside of material bounds in software, clean OtherMill bed, put double sided tape on acrylic and press onto bed firmly.

Step 7-11 : Zero x and y axis using switches, move bit over empty bed, zero z axis. Next, I engraved the pocket for the star, after that I cut out the profile of the oval. I accidentally set the milling tools to 1/8th Flat End Mill instead of 1/8th so it went too fast but it turned out not to be an issue with the final piece.


Screen Shot 2020-02-06 at 1.06.12 PM.png