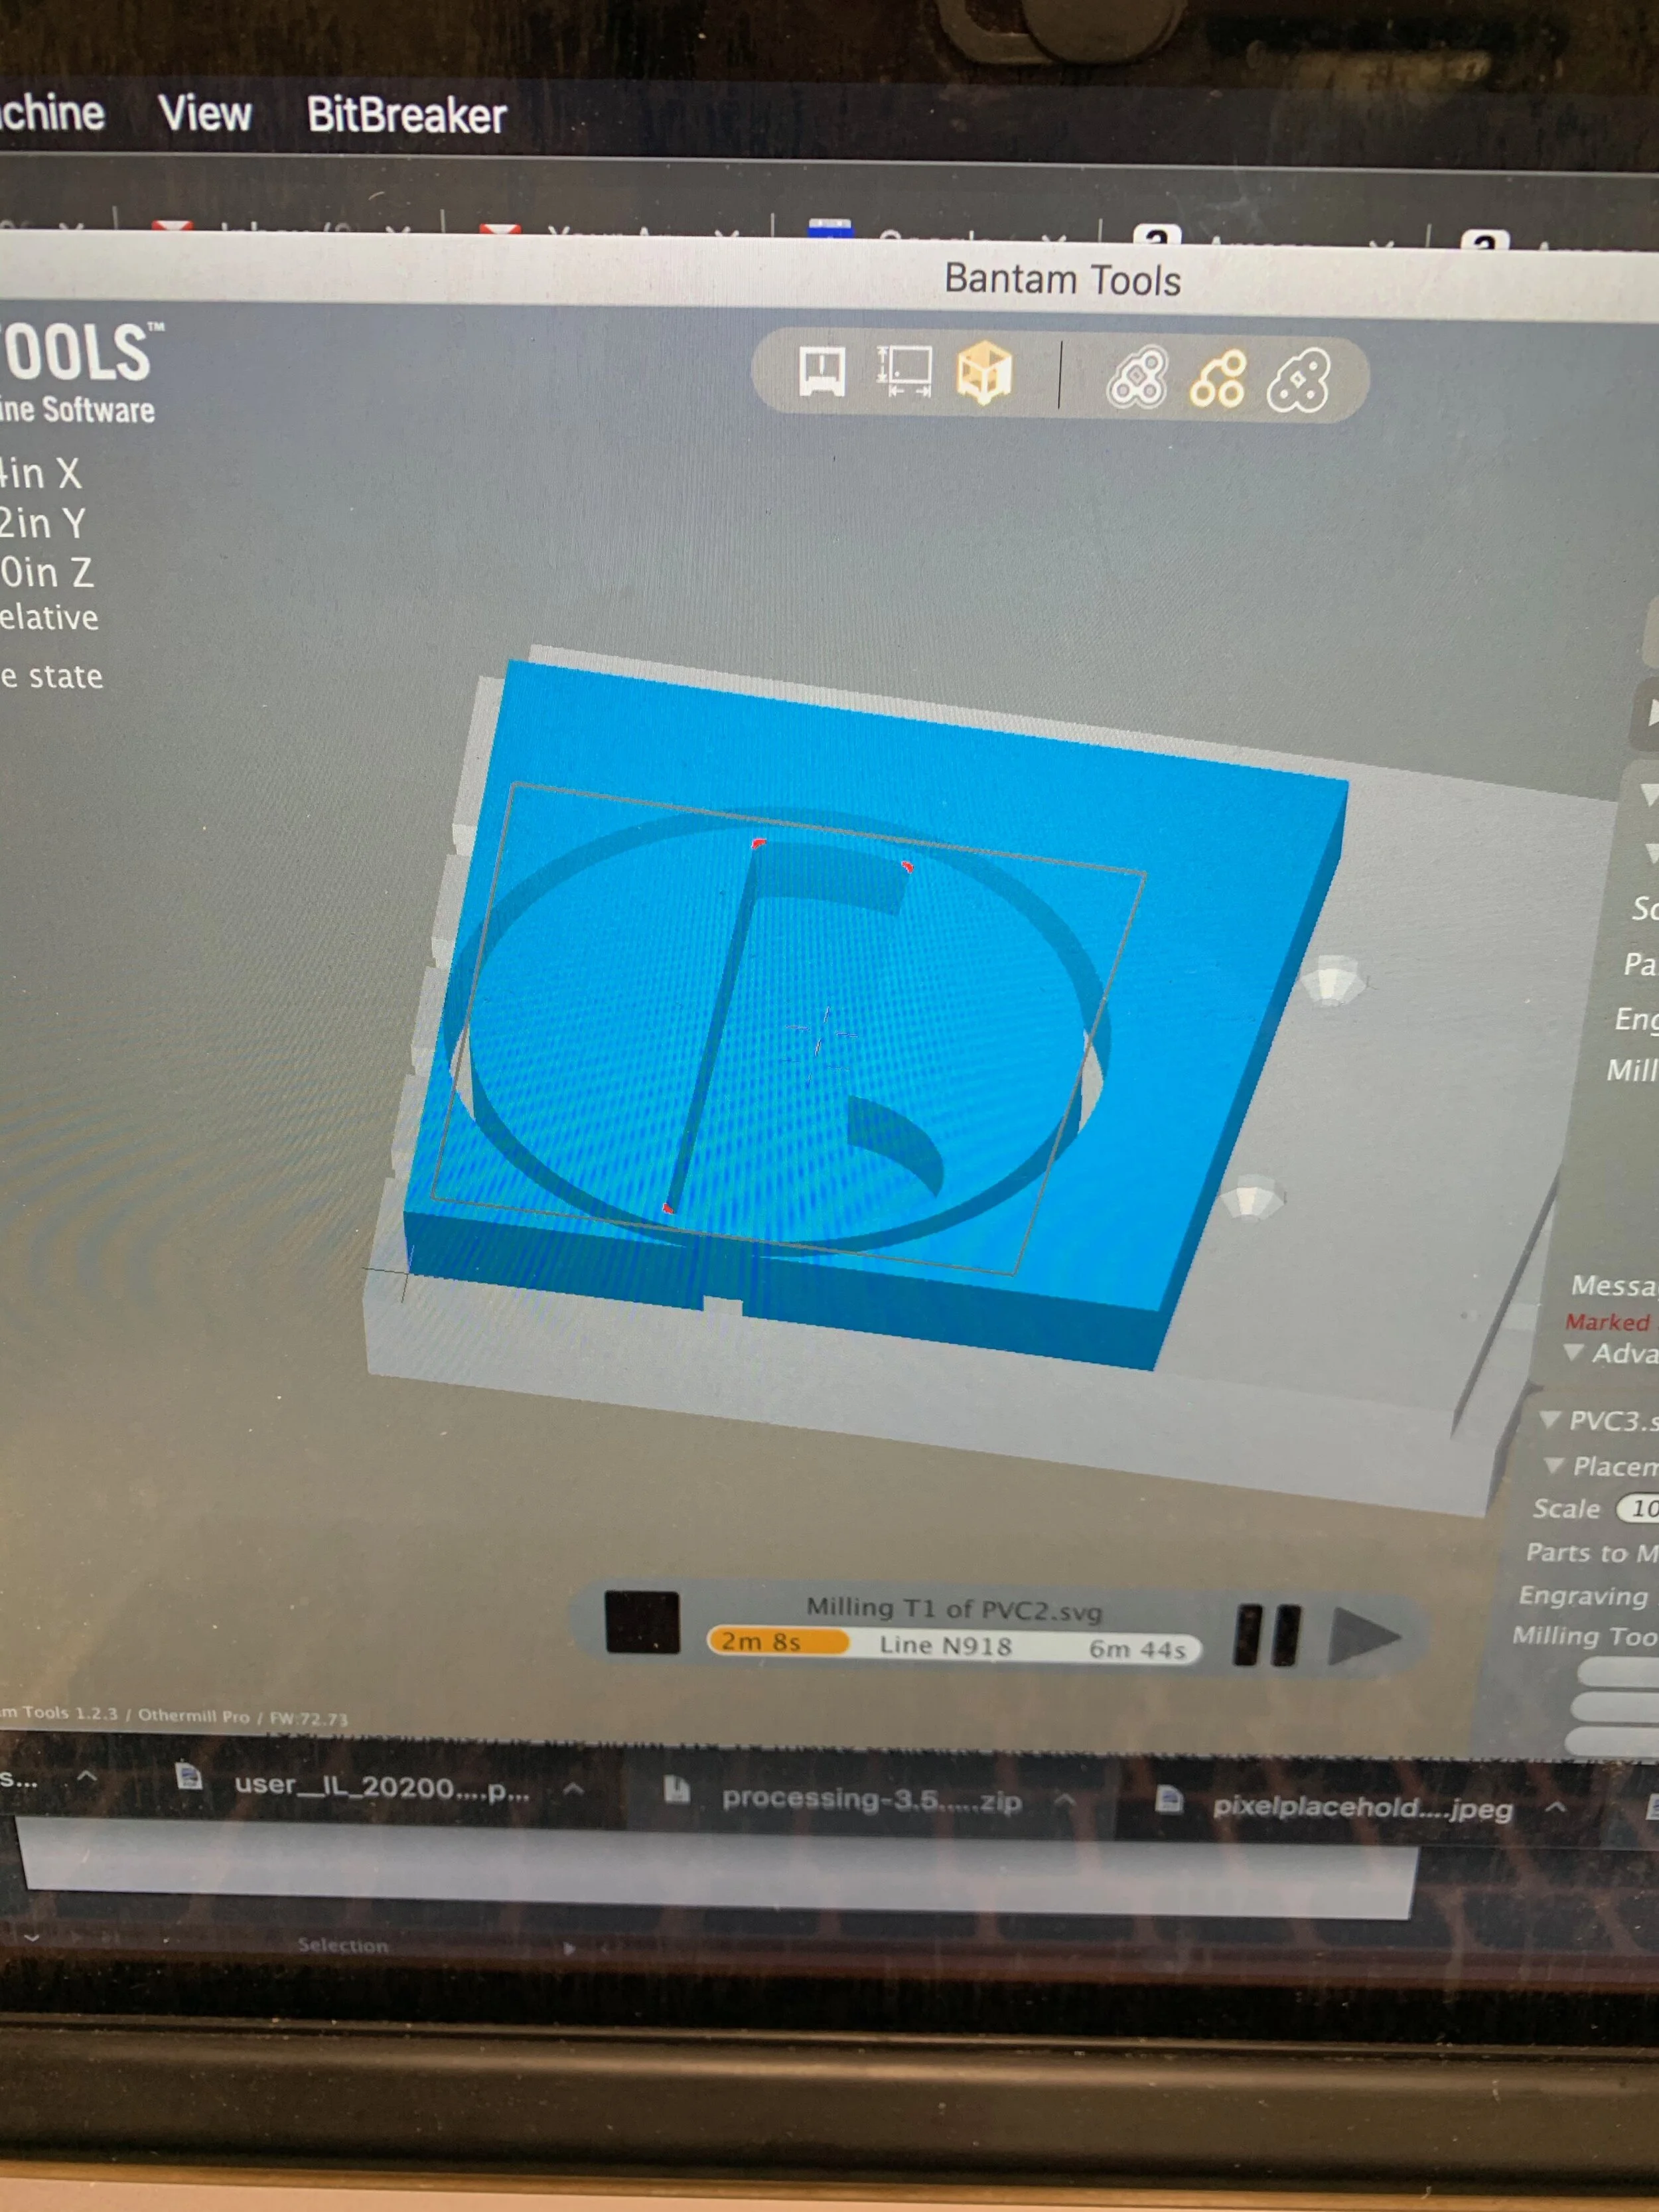
This week I worked on insetting parts. I decided to go with a spiral which turned out to be a choice I regretted due to the time it takes to cut a spiral with a CNC. The path is almost as long as the full volume of a shape and you have to multiply that by two when you inset pieces.
I started off with vectorworks, creating a spiral, then I used the filet tool to expand the corners so that a .125 inch bit could fit into all the pathways. Next I offset the inner spiral .01 from the spiral channel as well as the outer circle .01 from the pvc circle that the “chip” gets inset into.


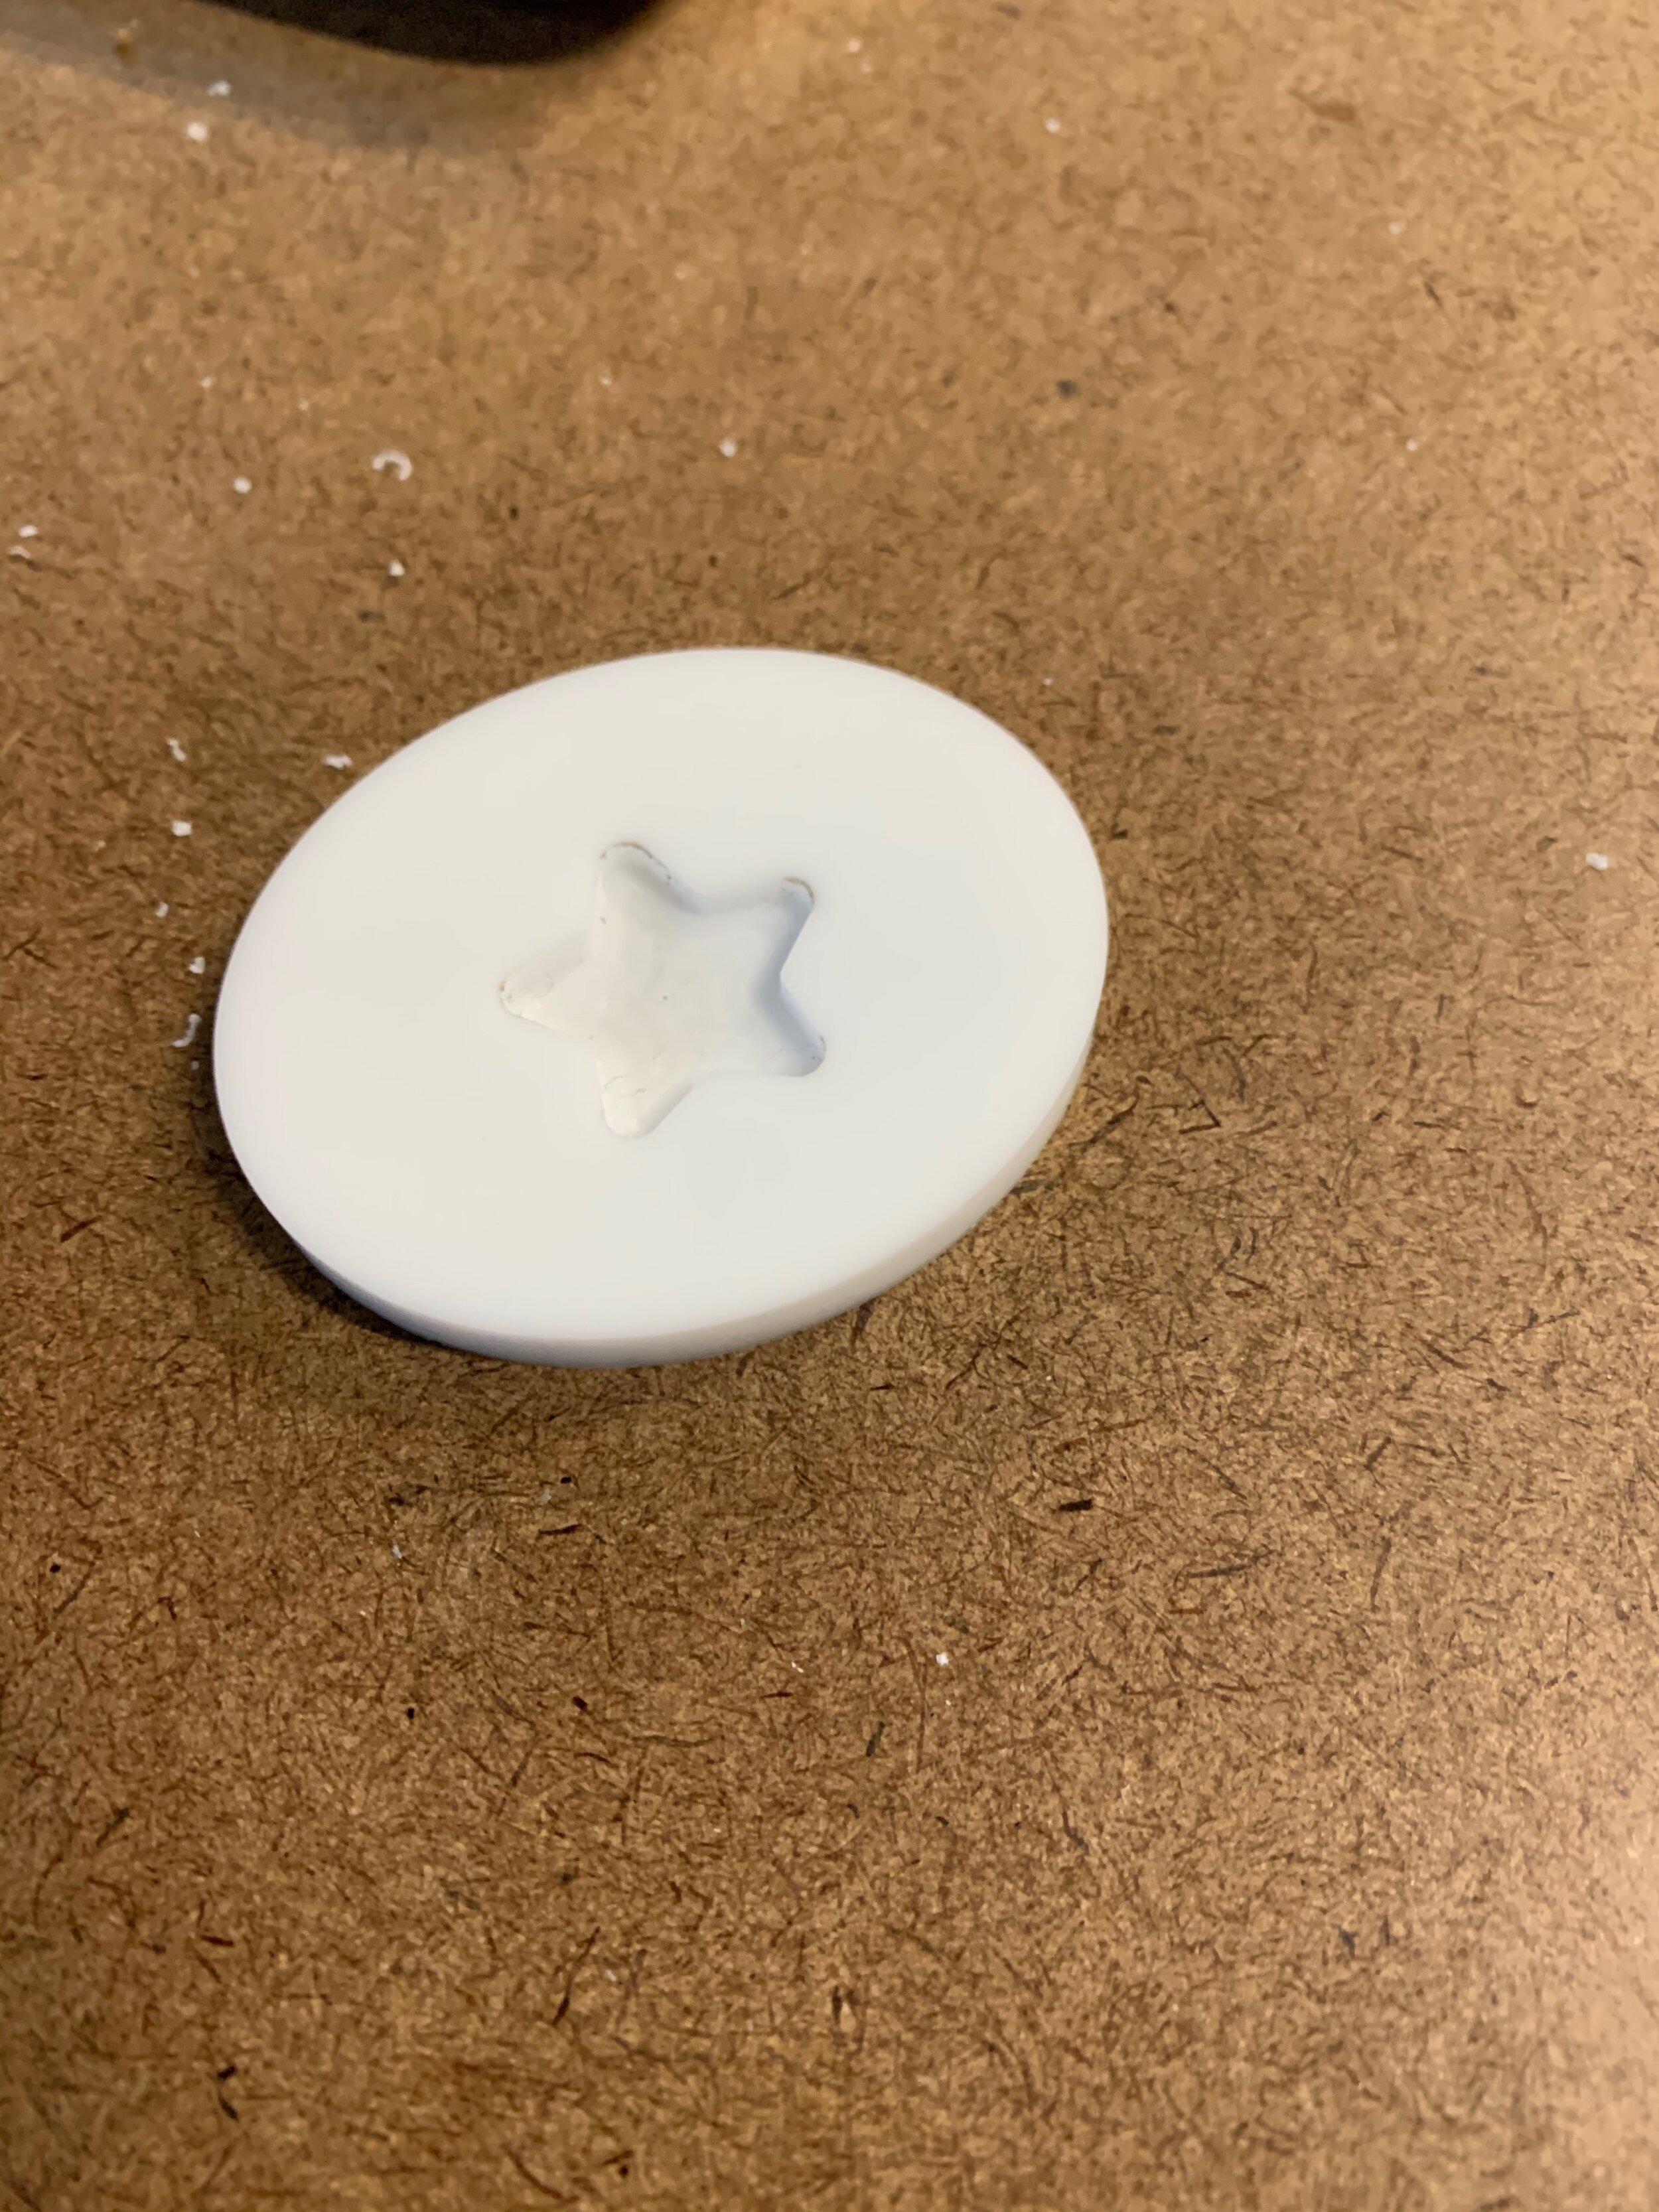
Next I had to do some sanding to get the acrylic with dichroic applied to it to match the height of the black acrylic that it is inlayed into as I forgot to account for the thickness of the film in my machine settings. Even if I did remember, it would have been quite a task to get it to line up exactly as I would have needed to use thicker black acrylic or take off some of the back of the acrylic with the film applied to it. I taped the dichroic spiral to the bottom of the pvc mount and sanded it down. Next I applied acrylic weld and found out that my tolerance of .01 was too high and there was a noticeable gap between the acrylic and dichroic. Luckily it is not visible when the “chip” is inset into the pvc base.