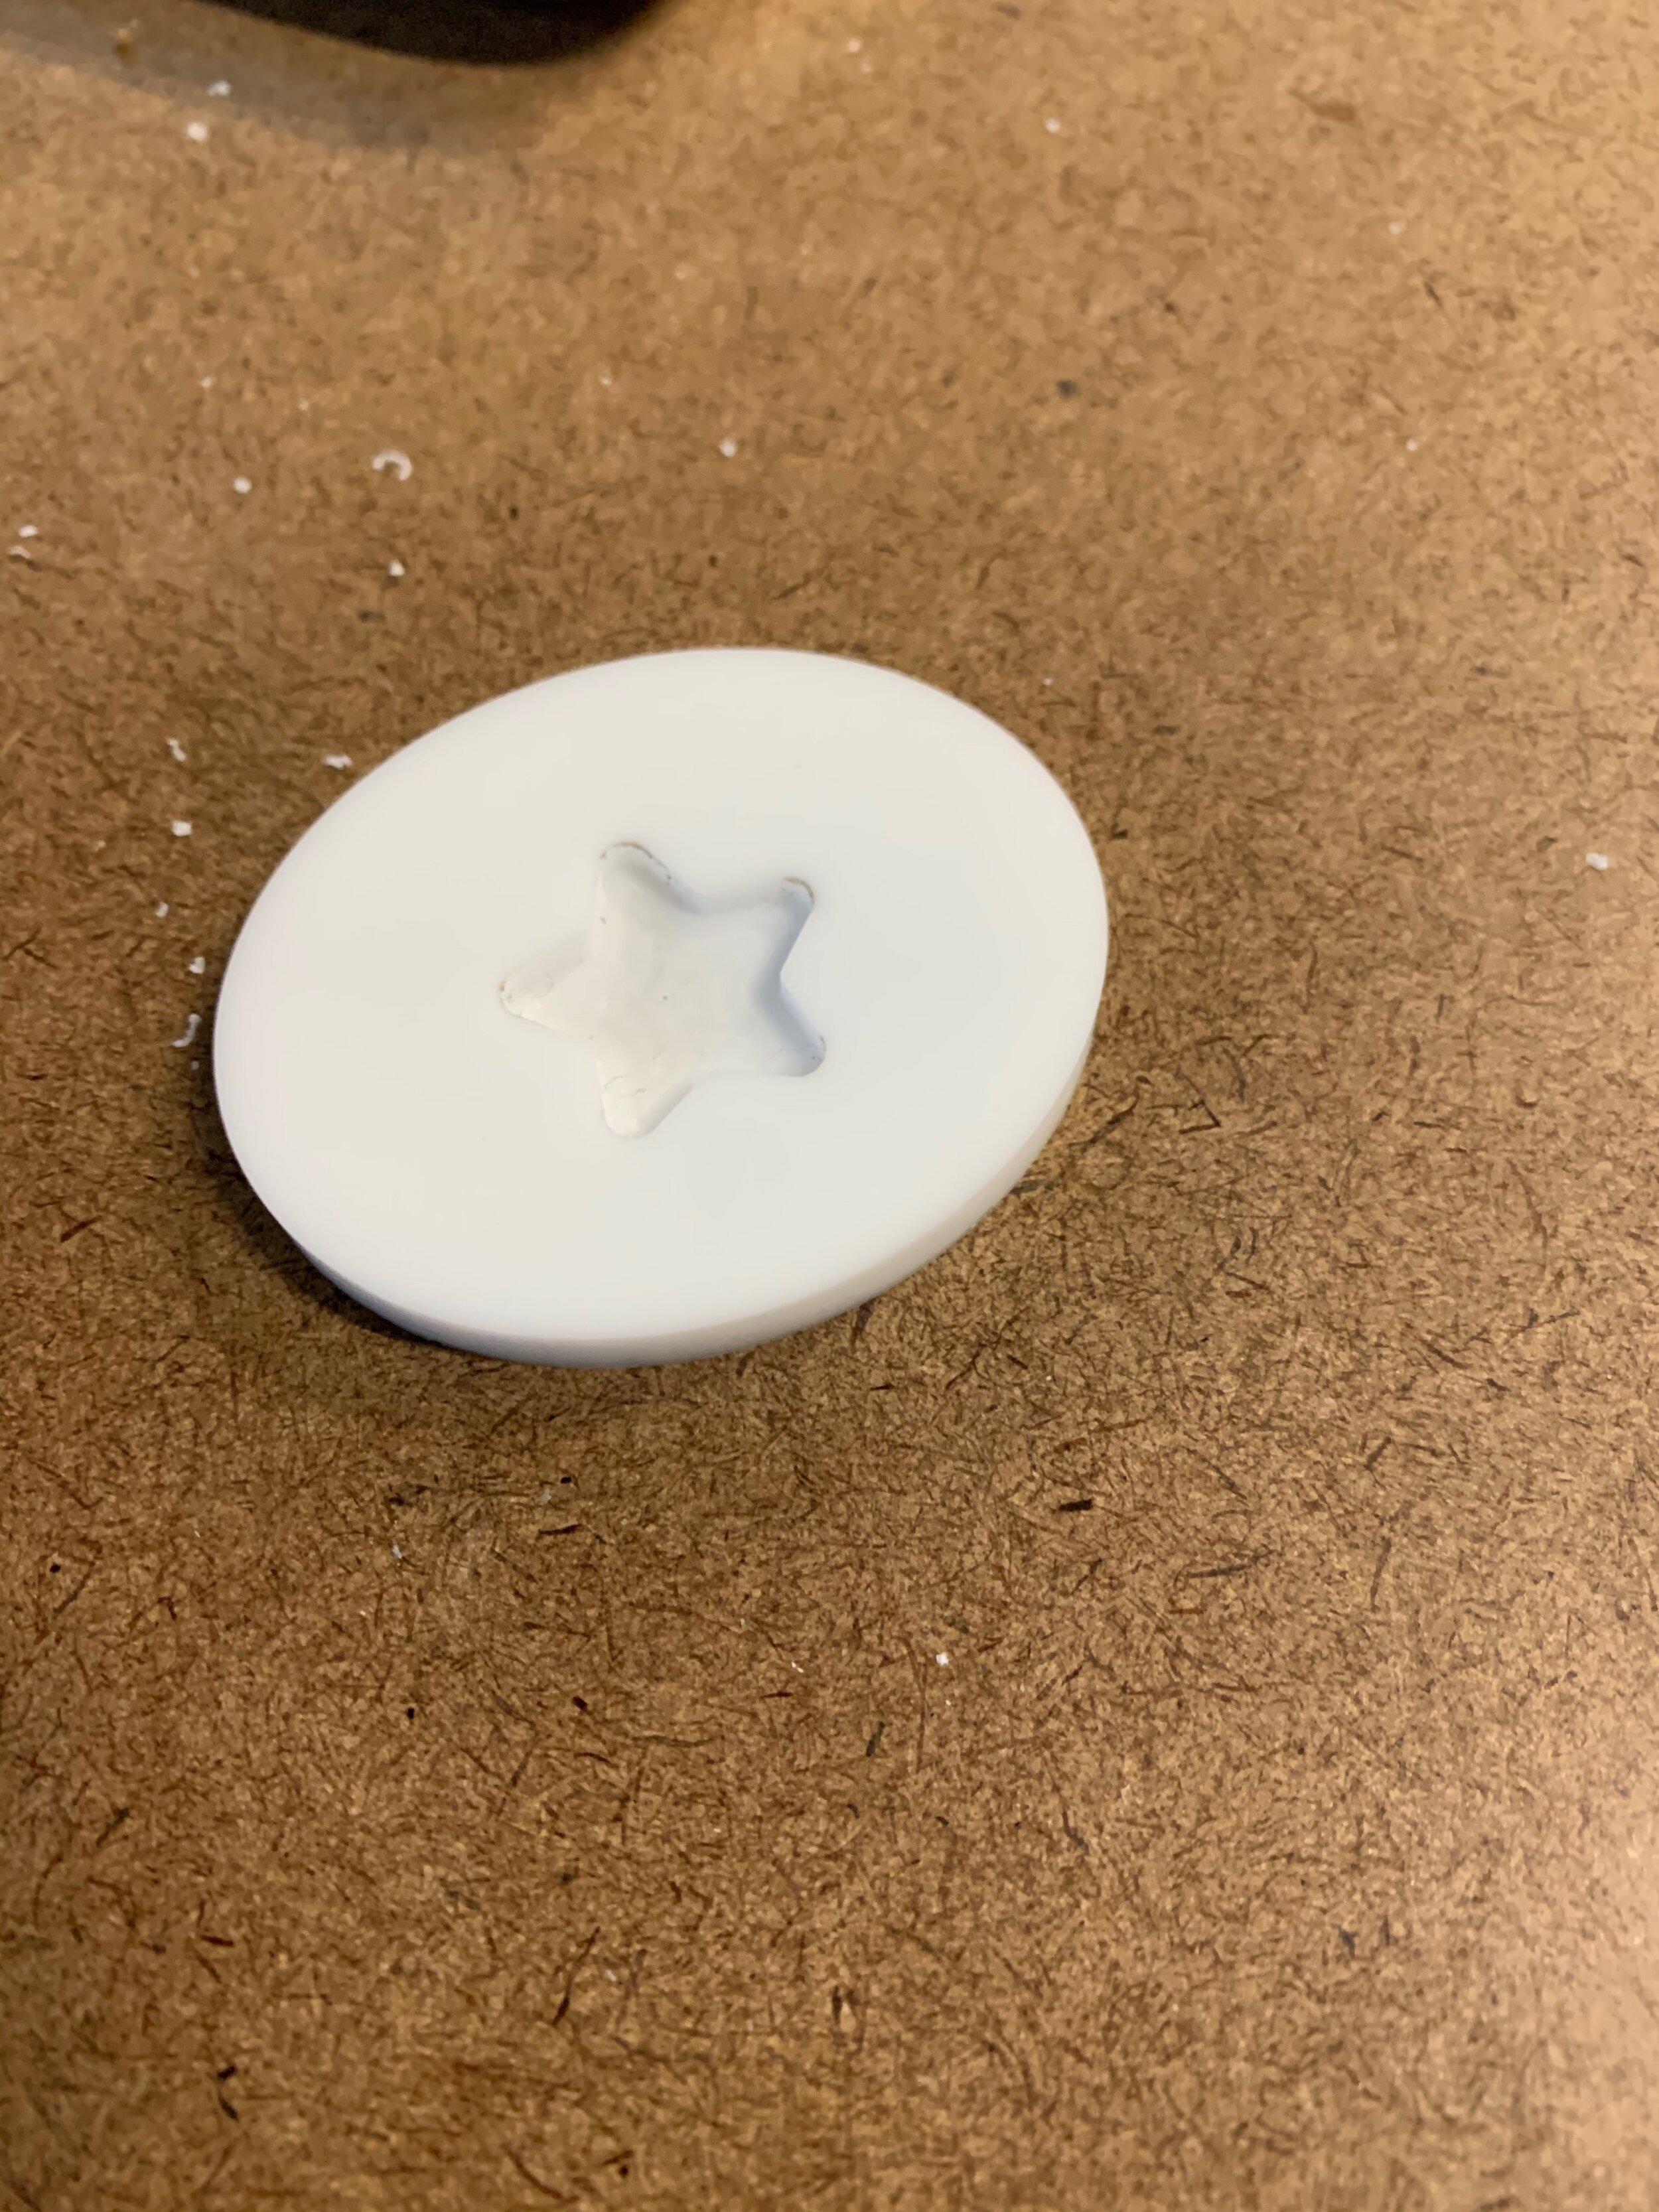
This week during class I milled a pice of acrylic into an oval disc with a star shaped pocket. Instructions at bottom of post. After I was comfortable with the mill, I created a base / enclosure for an led candle that I built for light and interactivity.


Instructions for star oval acrylic:
Step 1: File setup in Illustrator. Below is a picture of the combined pocket and profile. I saved twice, each one with just one of the paths so that the Bantam software separated the vectors into two jobs.
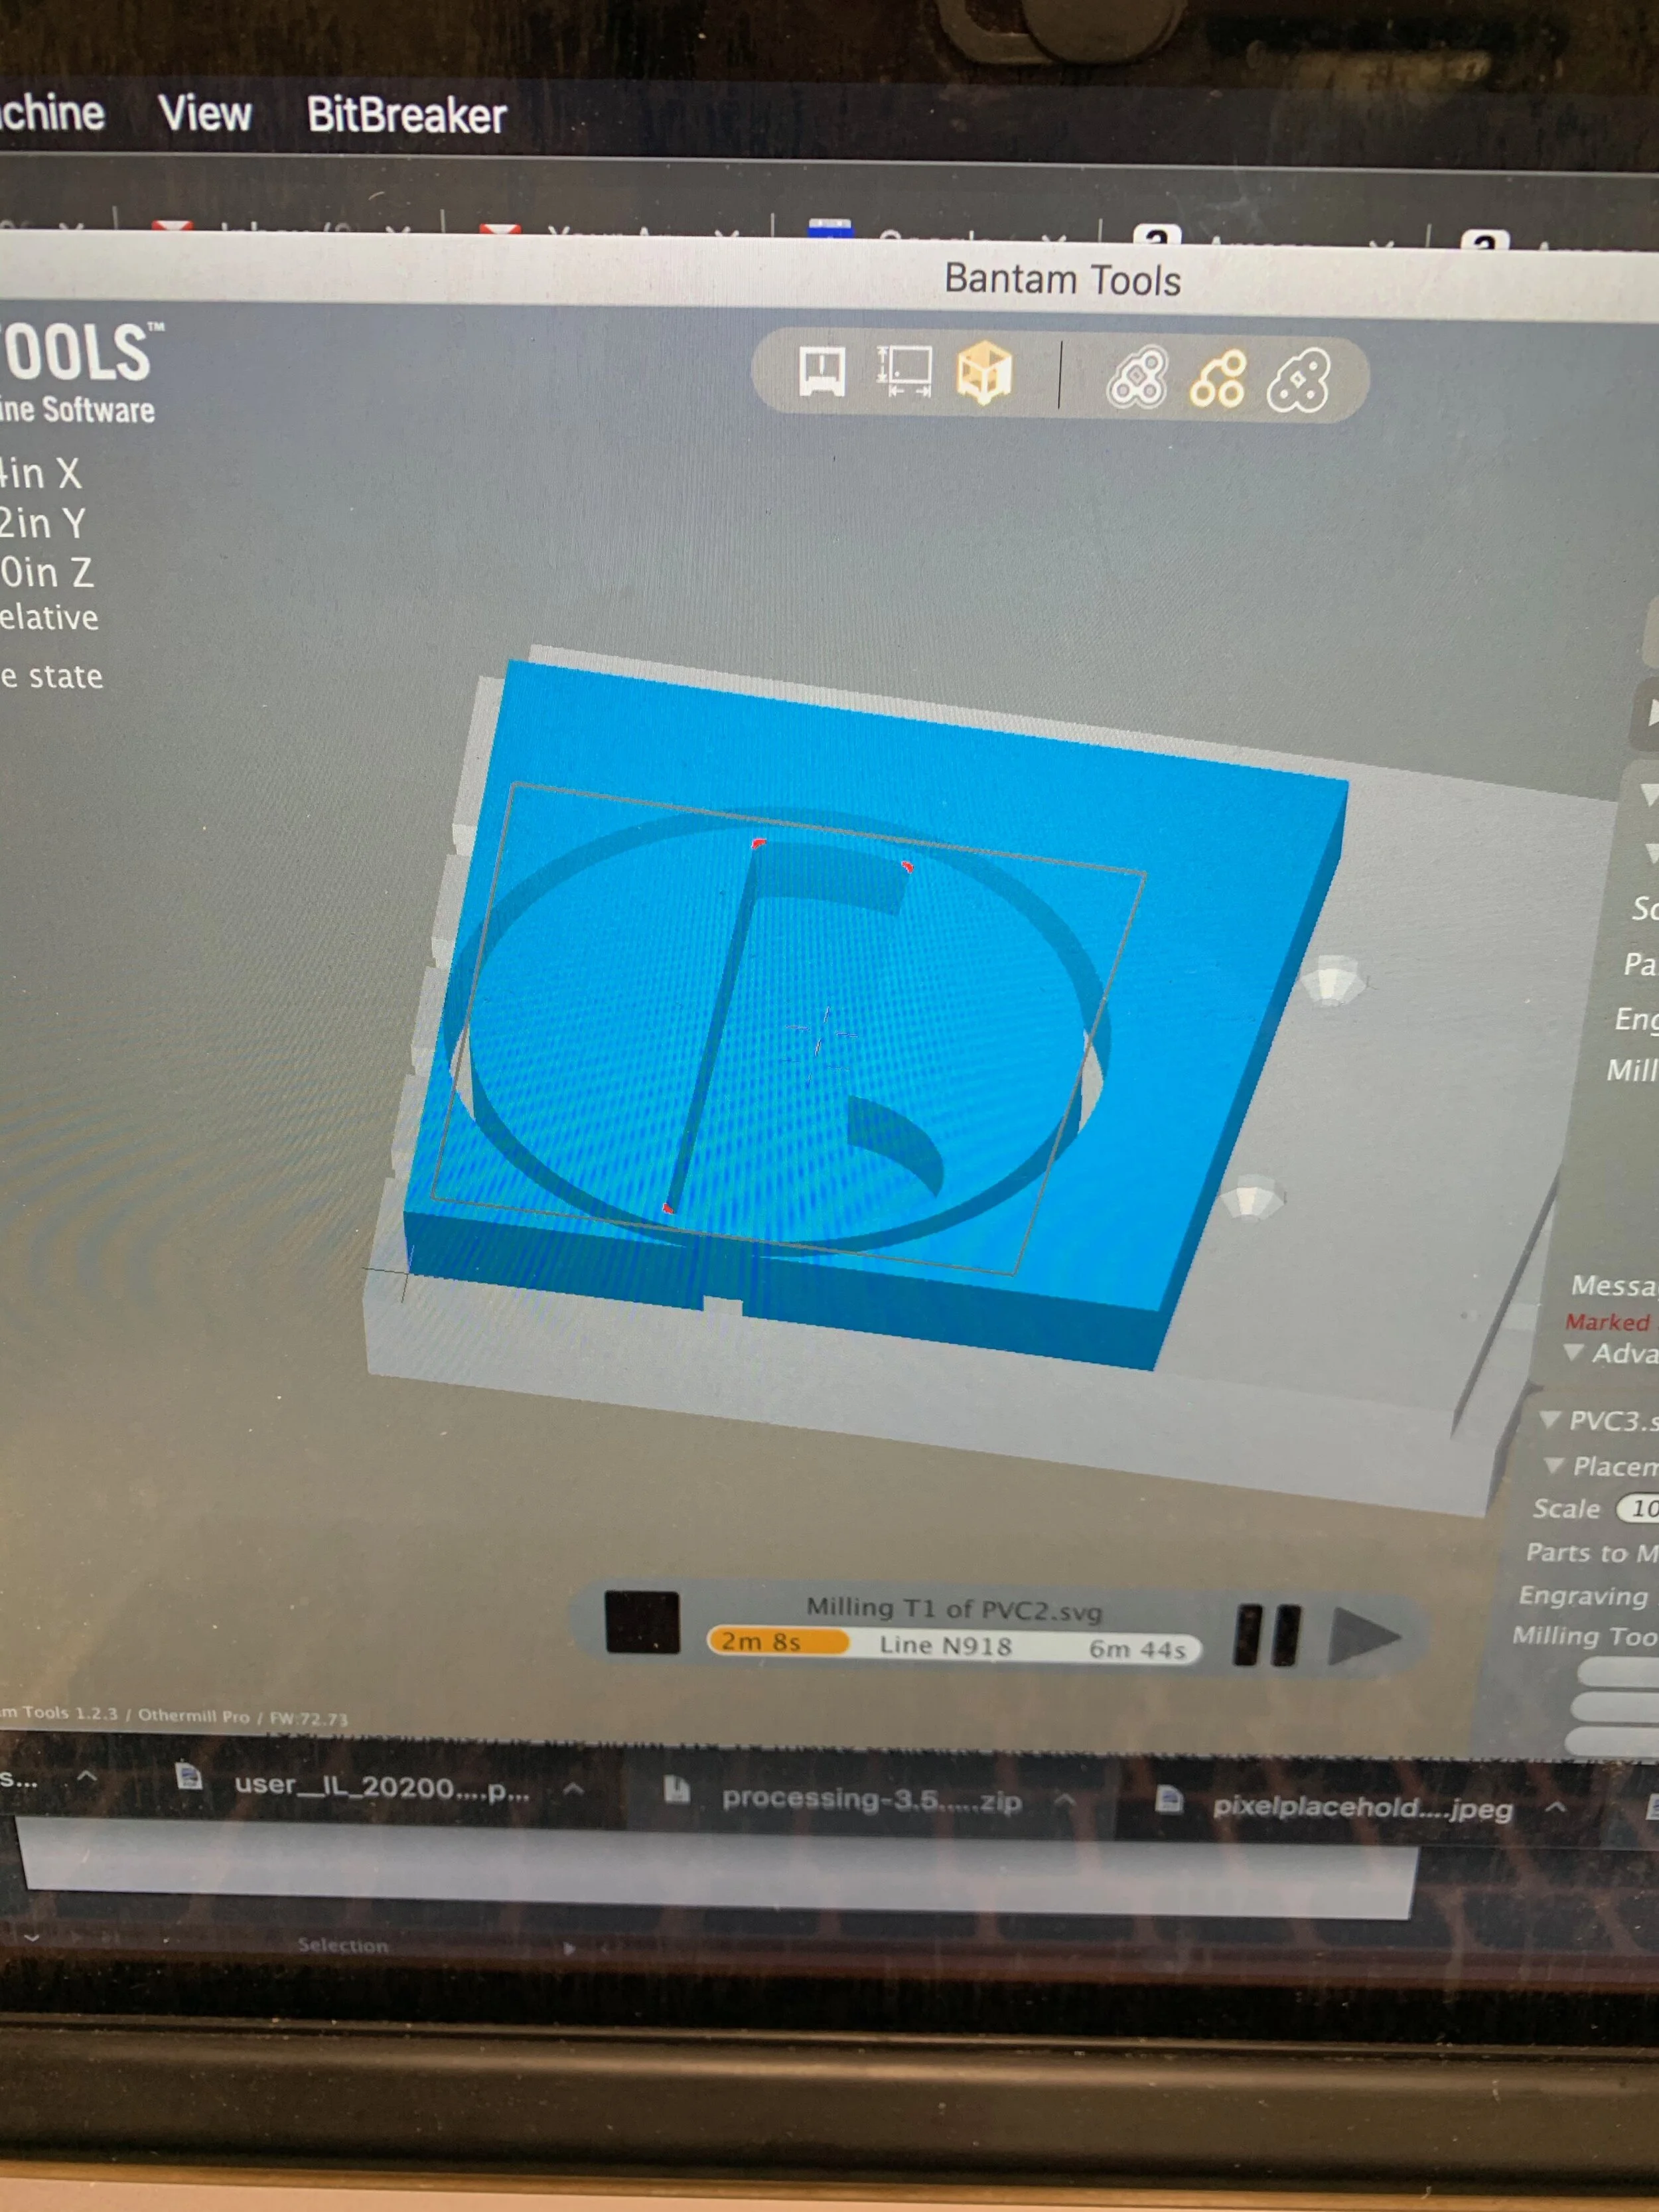
Step 2-6: Import into Bantam, measure acrylic height, set up material size and placement in software, scale and place illustrator image inside of material bounds in software, clean OtherMill bed, put double sided tape on acrylic and press onto bed firmly.


Step 7-11 : Zero x and y axis using switches, move bit over empty bed, zero z axis. Next, I engraved the pocket for the star, after that I cut out the profile of the oval. I accidentally set the milling tools to 1/8th Flat End Mill instead of 1/8th so it went too fast but it turned out not to be an issue with the final piece.